Understanding Water Damage
Water damage can occur due to a variety of reasons, including:
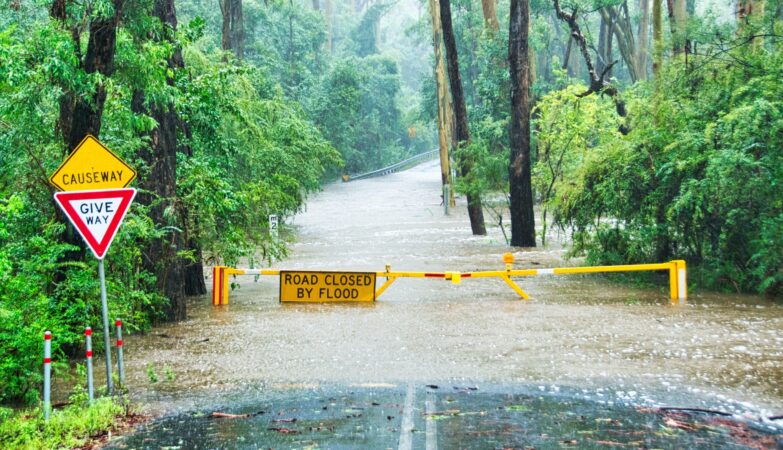
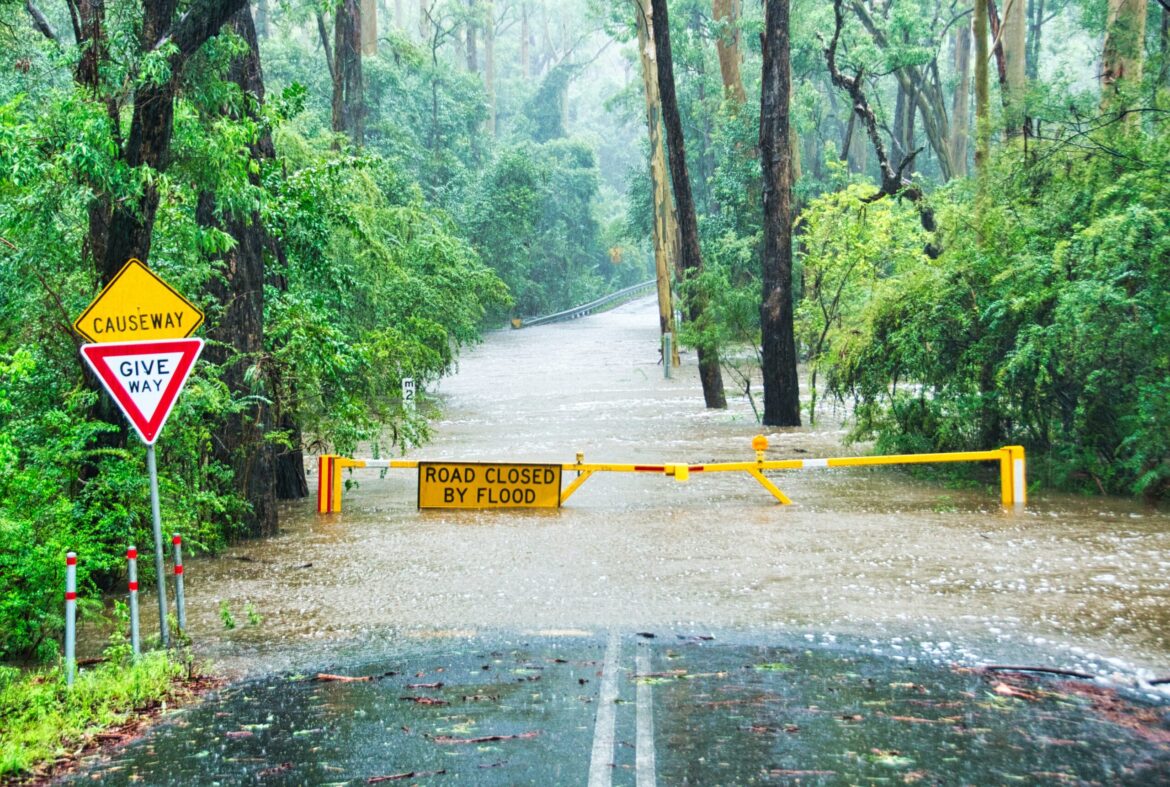
- Natural Disasters: Heavy rainfall, flooding, and snowmelt can lead to significant water accumulation in homes and businesses.
- Plumbing Issues: Burst pipes, leaking faucets, or malfunctioning appliances can cause water to seep into walls, floors, and other areas.
- Roof Leaks: Poorly maintained roofs can allow water to infiltrate your home during rainstorms.
- Sewage Backup: Wastewater backups can introduce harmful bacteria and pathogens into your living space.
Regardless of the cause, water damage needs to be addressed promptly to minimize further damage and restore your property to its pre-loss condition.
The Importance of Prompt Action
In Portland, where rainfall can be significant, prompt action is critical. Water can damage your property in a matter of hours, leading to mold growth, structural damage, and compromised air quality. It’s essential to take immediate steps to mitigate damage and initiate the restoration process.
Step 1: Assess the Situation
Identify the Source of Water Damage
The first step in the restoration process is to identify the source of the water. Understanding whether the water is clean (category 1), contaminated (category 2), or highly contaminated (category 3) is vital for determining the necessary restoration measures. vancouver water damage restoration: your local solution for quick recovery
- Category 1: Clean water from a broken pipe or tap.
- Category 2: Grey water from sources like washing machines or dishwashers.
- Category 3: Black water from sewage backups or floodwaters.
Evaluate the Extent of the Damage
Next, assess the extent of the damage. Check for signs of water intrusion, such as:
- Stained walls and ceilings
- Warped floors
- Mold growth
- Unpleasant odors
This evaluation will help you determine whether you can manage the restoration process yourself or if you need to call in a professional water restoration company.
Step 2: Ensure Safety
Safety should always be your top priority. Before entering a water-damaged area, take the following precautions:
- Wear Protective Gear: Use gloves, boots, and masks to protect yourself from potential contaminants.
- Turn Off Electricity: If water has reached electrical outlets or appliances, turn off the electricity to avoid electrocution.
- Evacuate if Necessary: If the damage is extensive or if there’s a risk of structural collapse, evacuate the premises and call for professional help.
Step 3: Remove Standing Water
Once it’s safe to proceed, the next step is to remove any standing water. This may involve:
- Using a Wet/Dry Vacuum: For smaller amounts of water, a wet/dry vacuum can be effective.
- Pumping Out Water: For larger areas, a submersible pump may be necessary.
- Removing Saturated Materials: Carpets, rugs, and furniture may need to be removed if they cannot be dried effectively.
Contact a Water Restoration Professional
In many cases, it’s best to hire a professional water restoration company, especially for significant water damage. These experts have the necessary equipment and expertise to handle large volumes of water safely and efficiently.
Step 4: Dry the Affected Area
After removing standing water, the next step is to dry out the affected area. This process is critical to prevent mold growth and further damage. Here’s how to do it:
Use Industrial-Grade Fans and Dehumidifiers
- Fans: Set up high-velocity fans to circulate air and promote evaporation.
- Dehumidifiers: Use dehumidifiers to reduce humidity levels in the affected area. This will help speed up the drying process.
Open Windows and Doors
If weather permits, open windows and doors to increase ventilation. Fresh air can help facilitate the drying process.
Monitor Humidity Levels
Keep an eye on humidity levels using a hygrometer. Ideally, indoor humidity should remain below 60% to prevent mold growth.
Step 5: Clean and Disinfect
Once the area is dry, it’s essential to clean and disinfect the affected surfaces to prevent mold growth and eliminate any contaminants. Here are some cleaning tips:
Use Appropriate Cleaning Solutions
- For Clean Water Damage: A mixture of warm water and mild detergent is usually sufficient.
- For Contaminated Water Damage: Use a disinfectant approved for use on water-damaged surfaces, ensuring you follow the manufacturer’s instructions.
Focus on Mold-Prone Areas
Pay special attention to areas prone to mold growth, such as:
- Walls and ceilings
- Baseboards and trim
- Carpeting and upholstery
- HVAC systems
Dispose of Damaged Materials
Some materials, such as drywall and insulation, may need to be replaced if they have been severely damaged by water. Follow local guidelines for disposing of these materials to ensure safety and compliance.
Step 6: Monitor for Mold Growth
Even after thorough cleaning and drying, it’s important to monitor the affected area for signs of mold growth. Mold can begin to develop within 24 to 48 hours in damp environments.
Check for Mold Growth
- Visual Inspections: Look for discoloration or spots on walls, ceilings, and floors.
- Odor: A musty smell can indicate hidden mold growth.
Take Action if Mold is Detected
If you notice mold growth, it’s crucial to act quickly. Small patches of mold can often be cleaned with a mixture of water and vinegar, but extensive mold growth requires professional remediation.
Step 7: Repair and Restore
Once the area is cleaned, dried, and free of mold, it’s time to repair and restore your property. This process may include:
Replacing Damaged Materials
- Drywall and Insulation: Replace any damaged drywall or insulation.
- Flooring: Repair or replace flooring as needed.
Painting and Finishing
Once repairs are complete, repainting and refinishing surfaces will help restore your property’s appearance. Use mold-resistant paints to help prevent future issues.
Conduct a Final Inspection
Before considering the job done, conduct a final inspection to ensure all areas are thoroughly dried and restored.
Step 8: Implement Preventative Measures
Preventing future water damage is essential for safeguarding your property. Here are some preventative measures to consider:
Regular Maintenance
- Inspect Plumbing: Regularly check pipes, fixtures, and appliances for leaks.
- Maintain Your Roof: Ensure your roof is in good condition, with no missing shingles or leaks.
- Clear Gutters: Keep gutters and downspouts clear of debris to prevent overflow. Homes
Install Water Detection Devices
Consider installing water detection devices in vulnerable areas, such as basements, laundry rooms, and near water heaters. These devices can alert you to leaks before they cause significant damage.